10 Tips to Choose the Best PIR Sensor Switch?
Choosing the right Pir Sensor Switch is not simply a matter of comparing prices. It is about matching detection performance with the room, users, and connected lighting system. A hallway needs different coverage from a small bathroom. A warehouse needs stronger sensing discipline than a private office.
Lighting-controls specialist Craig DiLouie states, “The goal of lighting controls is to save energy while maintaining or improving the visual environment.” That principle guides this article. The ten tips examine detection range, mounting height, sensing angle, time delay, sensitivity, daylight control, load compatibility, wiring, environmental protection, and long-term maintenance. These details affect comfort, energy use, and reliability every day.
Look closely at the installation environment. A sensor facing a heater, moving curtain, or sunny window may trigger unexpectedly. A poorly positioned unit may leave corners dark. The product label can promise wide coverage, yet real performance depends on walls, furniture, temperature, and user movement. Small details matter.
No checklist is perfect. I have seen technically impressive sensors perform poorly after careless installation. That is an uncomfortable point, but it deserves attention. The cheapest Pir Sensor Switch may also create higher replacement costs. Certification, warranty support, adjustment controls, and clear technical documentation should influence the final decision. This guide offers a practical framework for comparing products honestly, while leaving room for site testing and informed reconsideration. A good choice should respond quickly, avoid nuisance switching, and remain dependable after months of daily use.
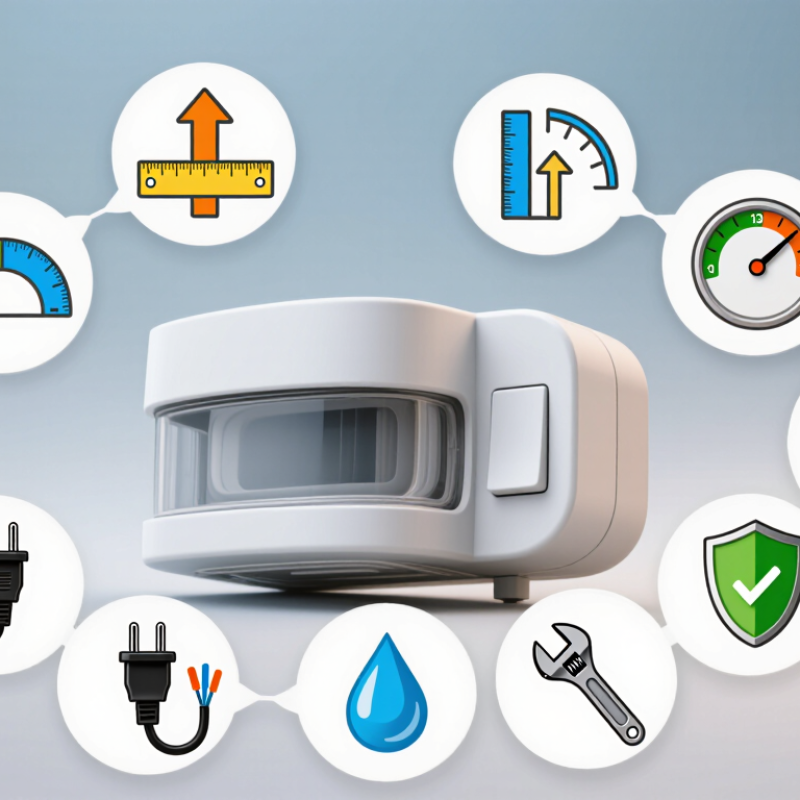
Define PIR Sensor Switch Functions and Detection Principles
A PIR sensor switch uses passive infrared technology to detect changes in heat, usually from moving people. It does not transmit energy like a radar sensor. Instead, a pyroelectric element receives infrared radiation through a Fresnel lens. When a warm body crosses different detection zones, the sensor creates an electrical signal. A stationary person may become almost invisible to it.
The switch usually controls a lamp, fan, or low-voltage load through a relay or electronic circuit. Check its detection range, viewing angle, time delay, light threshold, and switching capacity. These functions decide how the switch behaves in a real room. A longer delay suits stairways, while a shorter delay can reduce wasted energy in storage areas. The lux setting prevents activation during bright daylight. It needs careful adjustment.
Installation affects accuracy more than many buyers expect. Mounting height, walking direction, glass, curtains, heaters, and direct sunlight can change detection results. Crossing the sensor’s zones is normally easier to detect than walking straight toward it. Test the switch at different temperatures and distances. My early assumption was that a wider angle was always better. It was not. A wide field can create false triggers near moving curtains or warm air outlets. Pet immunity also needs verification, not guesswork. Read the technical data, then test the actual room.
Match Sensor Coverage, Range, and Movement Requirements
Choosing the best PIR sensor switch starts with the room, not the product label. I measure the area, mounting height, and usual walking paths before comparing specifications. Coverage describes the detection pattern, while range describes its reach. They are related, but not interchangeable. A sensor rated for a wide room may leave a narrow corridor with dead zones. Mark the floor plan. Then compare it with the lens zones.
Movement direction matters. PIR devices usually respond better to motion crossing their detection zones than motion approaching the sensor. Place a switch beside a doorway to catch entry across the room. For a corridor, align coverage along the walking route and verify both ends.
Slow movement can be missed. Someone reading, washing dishes, or sitting at a desk may produce little temperature change. I have seen this overlooked during quick installations. A short walk test is more useful than a promising diagram.
Check the actual range at the intended mounting height. Furniture, partitions, glass doors, and warm air outlets can alter performance. Keep the sensor away from direct sunlight, heaters, and vents where practical. Consider pets, too. A small animal may trigger a wide, low-mounted field. For a large room, overlapping coverage can help, but overlap also increases unwanted switching. Test daytime and nighttime conditions. Record missed detections, false triggers, and shutoff timing. If results are inconsistent, reduce the coverage area or change the angle before choosing a stronger sensor. That last adjustment is often ignored.
Compare Installation Locations, Wiring, and Compatibility
10 Tips to Choose the Best PIR Sensor Switch
Compare Installation Locations, Wiring, and Compatibility
Choosing a PIR sensor switch starts with the room, not the product label. Ceiling mounting suits open offices and corridors, while wall mounting works better in small rooms. Keep the sensor away from air vents, heaters, direct sunlight, and moving curtains. These sources can create false triggers. The U.S. Department of Energy reports that occupancy-based lighting controls can reduce lighting energy use by roughly 10% to 30%, depending on room use and operating habits. Real savings vary.
Check the wiring before purchase. Confirm the supply voltage, neutral requirement, load type, and switch arrangement. Some models need a neutral wire, while others support two-wire installation. LED lamps also deserve attention. Their low wattage may fall below the sensor’s minimum load, causing flicker or delayed shutoff. Verify the relay rating and LED inrush-current tolerance. Compatibility matters more than appearance.
Test the detection zone on site. A sensor may detect walking movement better than a seated person typing. Place it where body movement crosses the sensing field, not directly toward the doorway. For three-way circuits, confirm that the sensor supports multi-location control. I have seen suitable sensors fail because installers ignored ceiling height and coverage angles. That mistake is easy to repeat. Follow the wiring diagram and the applicable electrical code. ASHRAE 90.1 also emphasizes automatic lighting controls in many commercial spaces, but local requirements still decide the final installation.
Evaluate Sensitivity, Timing, Lighting, and Energy Settings
10 Tips to Choose the Best PIR Sensor Switch
Evaluate Sensitivity, Timing, Lighting, and Energy Settings
Tip 1: Test sensitivity in the actual room, not only on a workbench. A hallway may detect a walking person easily, yet miss someone sitting quietly. Adjust the detection range to prevent unwanted switching near doorways or moving curtains. I once set sensitivity too high beside a window. Passing shadows triggered the lights repeatedly.
Tip 2: Match the timing period to the activity. A bathroom may need ten minutes, while a storage room may need only one minute. Test the setting during normal use, including short pauses and slow movement. Very short timing saves energy but can create irritating darkness. That balance matters.
Tip 3: Check lighting thresholds carefully. The sensor should operate when the room is genuinely dim, not whenever movement occurs. Test it at morning, midday, and evening. Cloudy weather can change results. A hallway reading may differ greatly from a room with strong reflected sunlight.
Tip 4: Review energy settings alongside lamp power and daily traffic. Frequent switching can waste energy with inefficient lights. Long delays can waste even more. Choose a practical middle point.
Tip 5: Observe the sensor for several days. Real habits reveal problems that quick tests miss. Record false triggers, missed movement, and unnecessary lighting. Perfect settings are rare. Adjustment is part of the installation.
10 Tips to Choose the Best PIR Sensor Switch
Evaluate detection sensitivity, time-delay control, ambient-light settings, and standby energy use. This brand-neutral scorecard uses a practical 10-point scale based on commonly available PIR switch adjustment features.
Check Durability, Safety Standards, Maintenance, and Total Cost
When choosing a PIR sensor switch, durability should match the room’s real conditions. A hallway needs a different design from a damp utility area. Check the housing material, lens strength, temperature range, and ingress protection rating. A firm click and stable wall fit often reveal useful build quality. I have seen inexpensive switches fail because their plastic became brittle near a heat source.
Safety standards deserve careful attention. Look for clear compliance markings and test documentation from recognized laboratories. Confirm the switch supports your supply voltage, lamp type, and electrical load. Poor matching can cause flickering, overheating, or early contact failure. Installation should follow local electrical requirements and be completed by a qualified person when necessary. Do not trust vague claims.
Maintenance also affects the total cost. Wipe the sensor lens gently every few months, especially in dusty corridors. Check false triggers after moving furniture or changing lighting. A lower purchase price may hide frequent replacements, difficult wiring, or high energy use. Calculate purchase, installation, electricity, and replacement costs over several years. This calculation is imperfect, but still useful. A switch with adjustable sensitivity, timing, and detection range may reduce wasted lighting. However, too many settings can confuse users and increase service time. Test the chosen unit in the actual room before installing several.